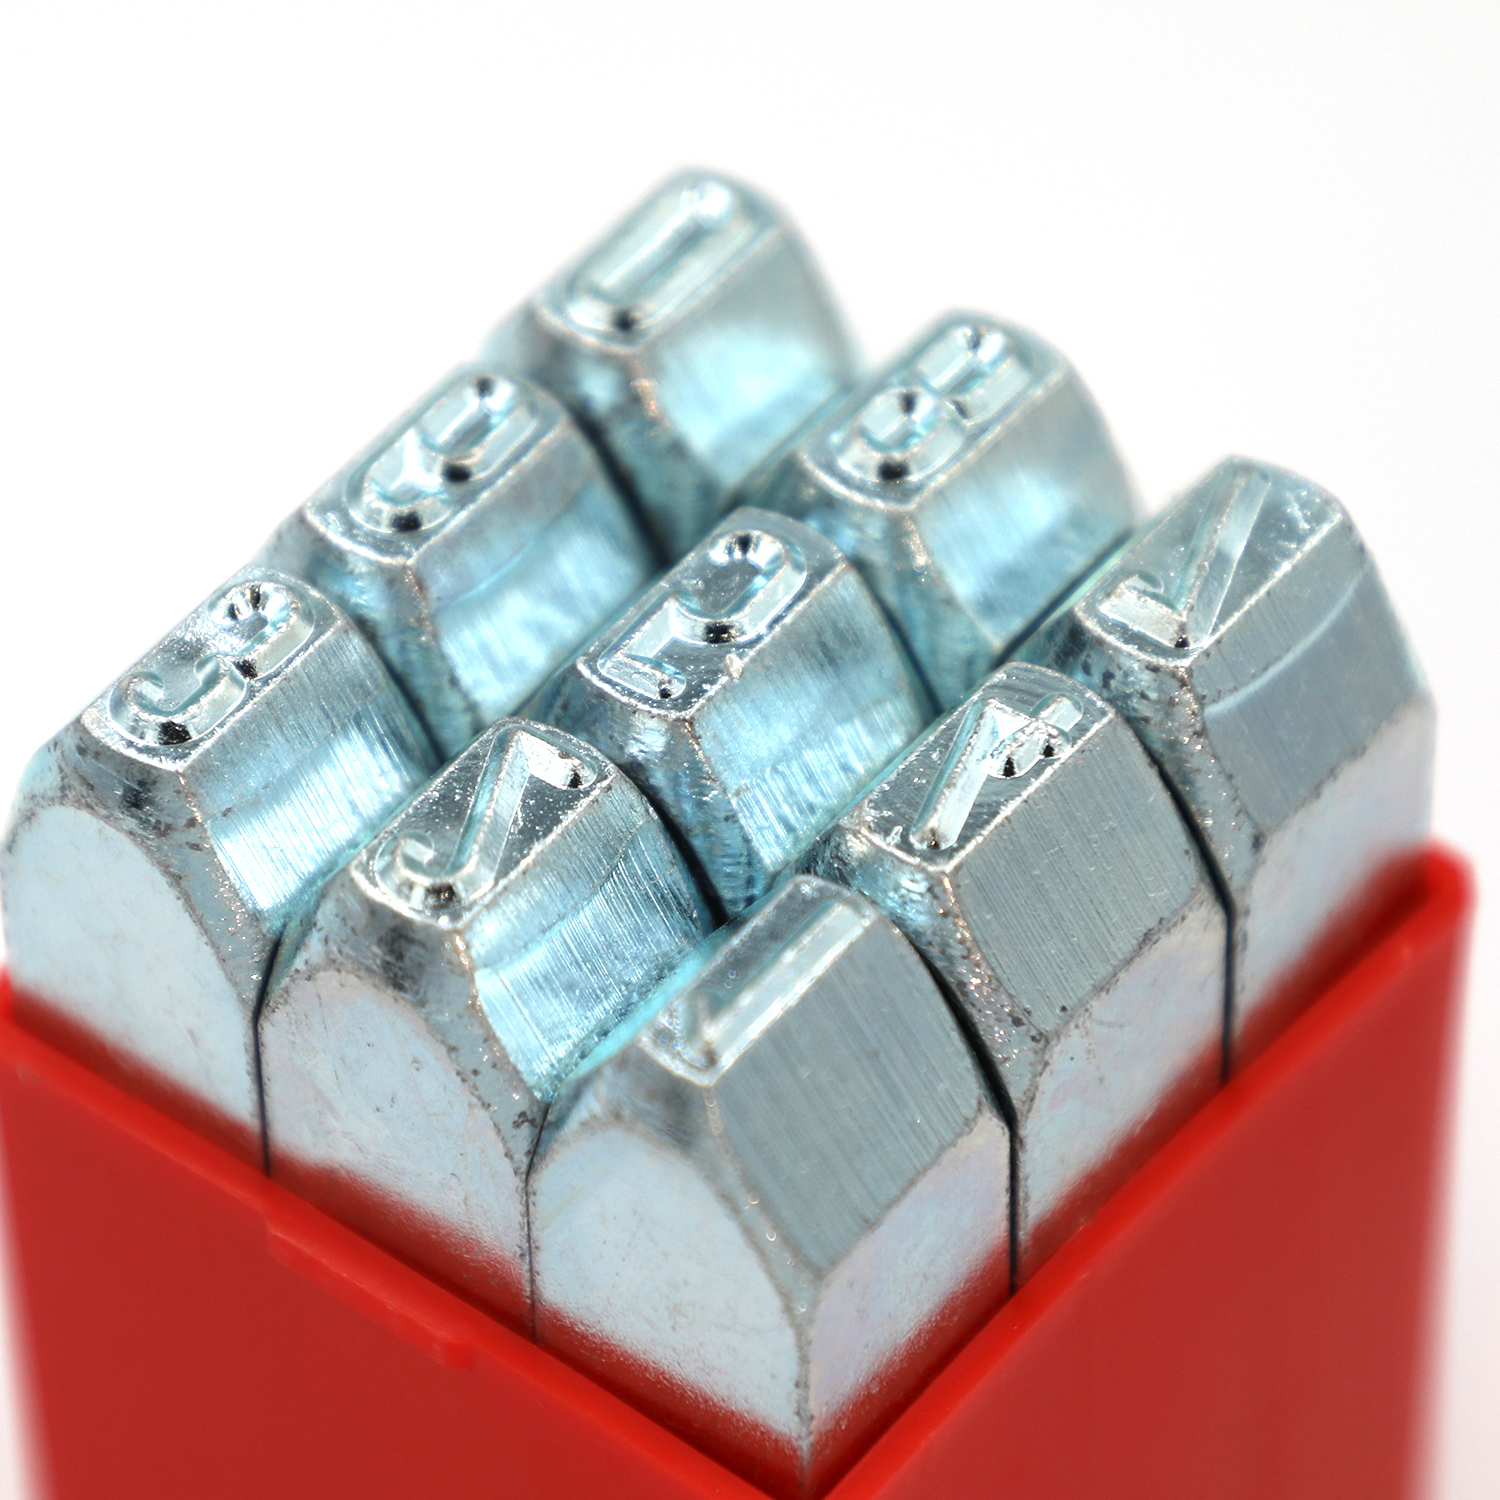
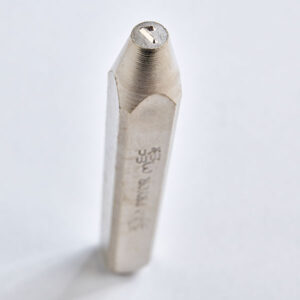
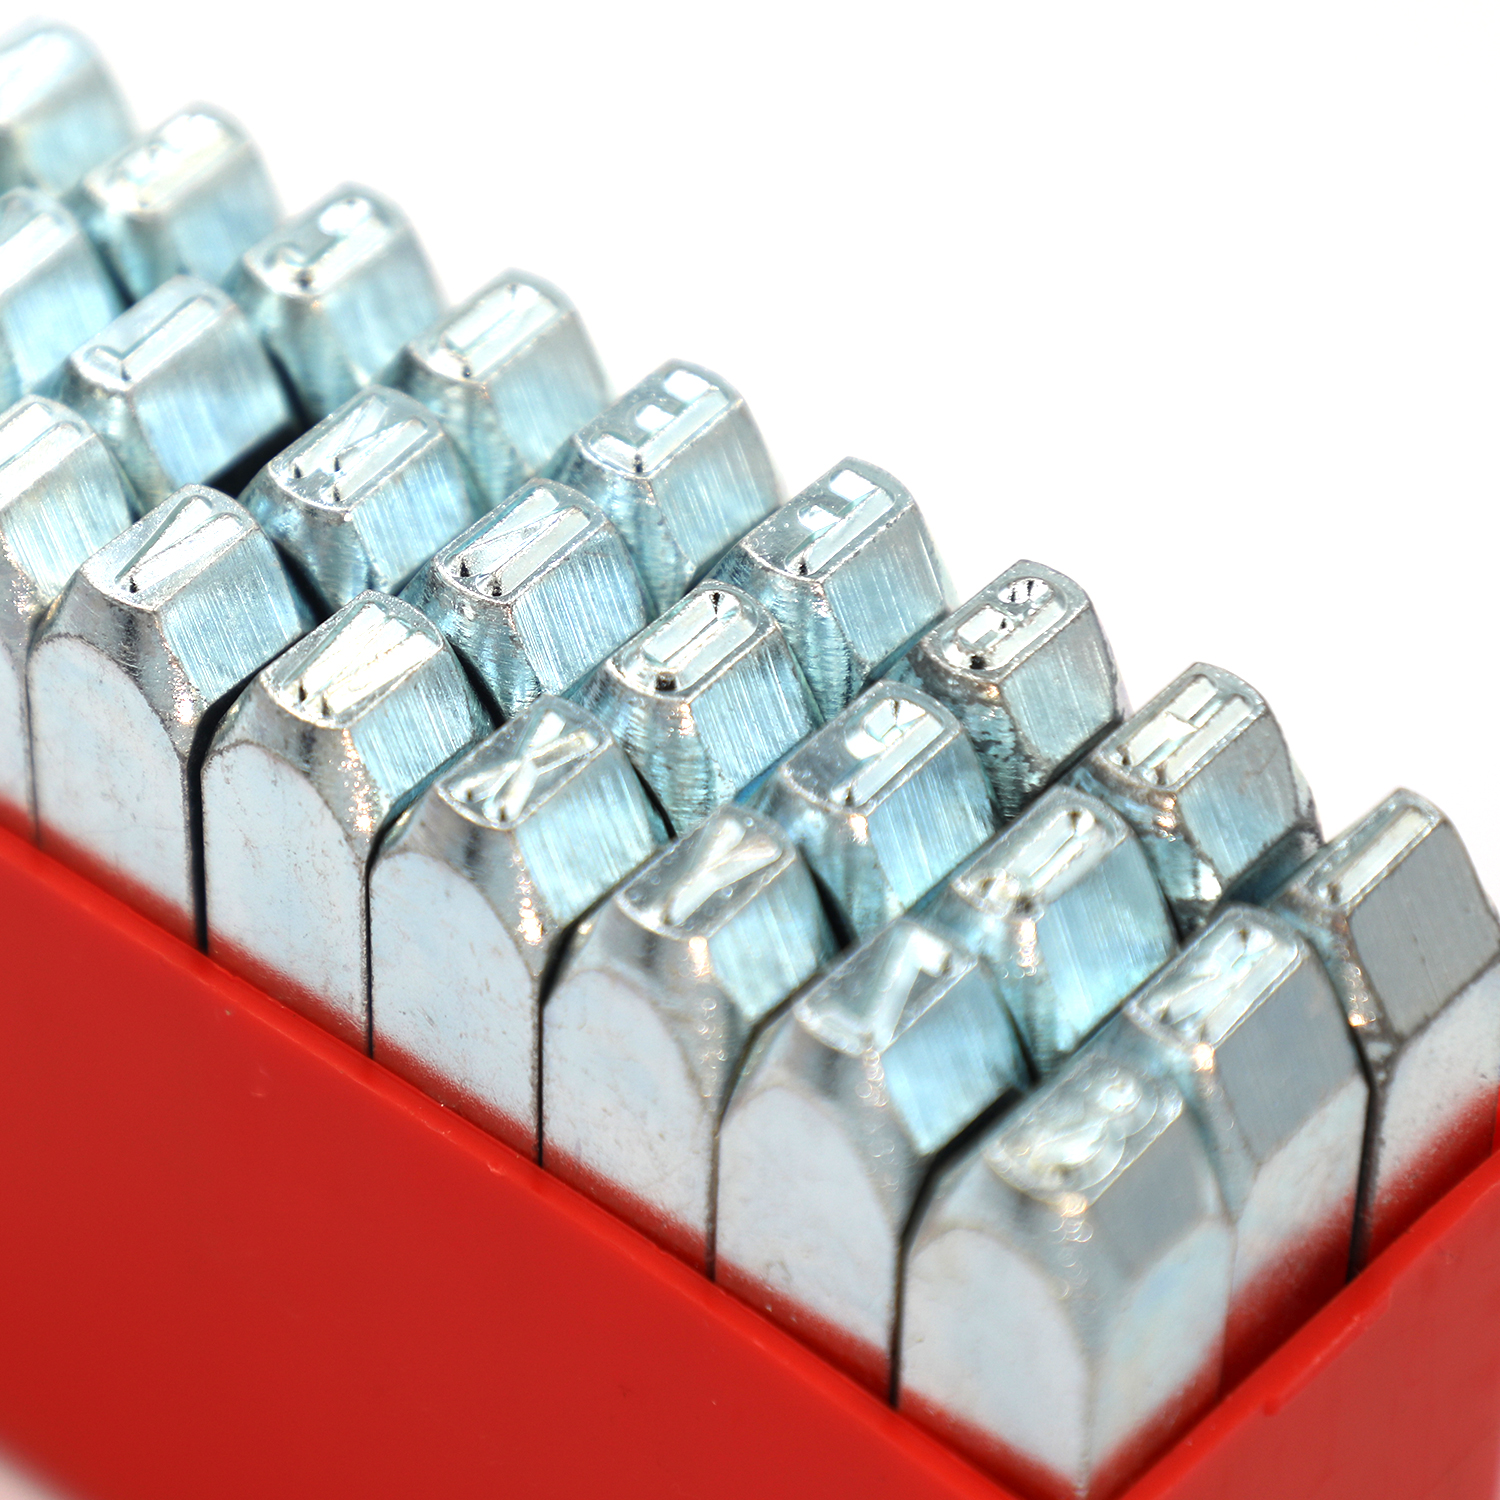
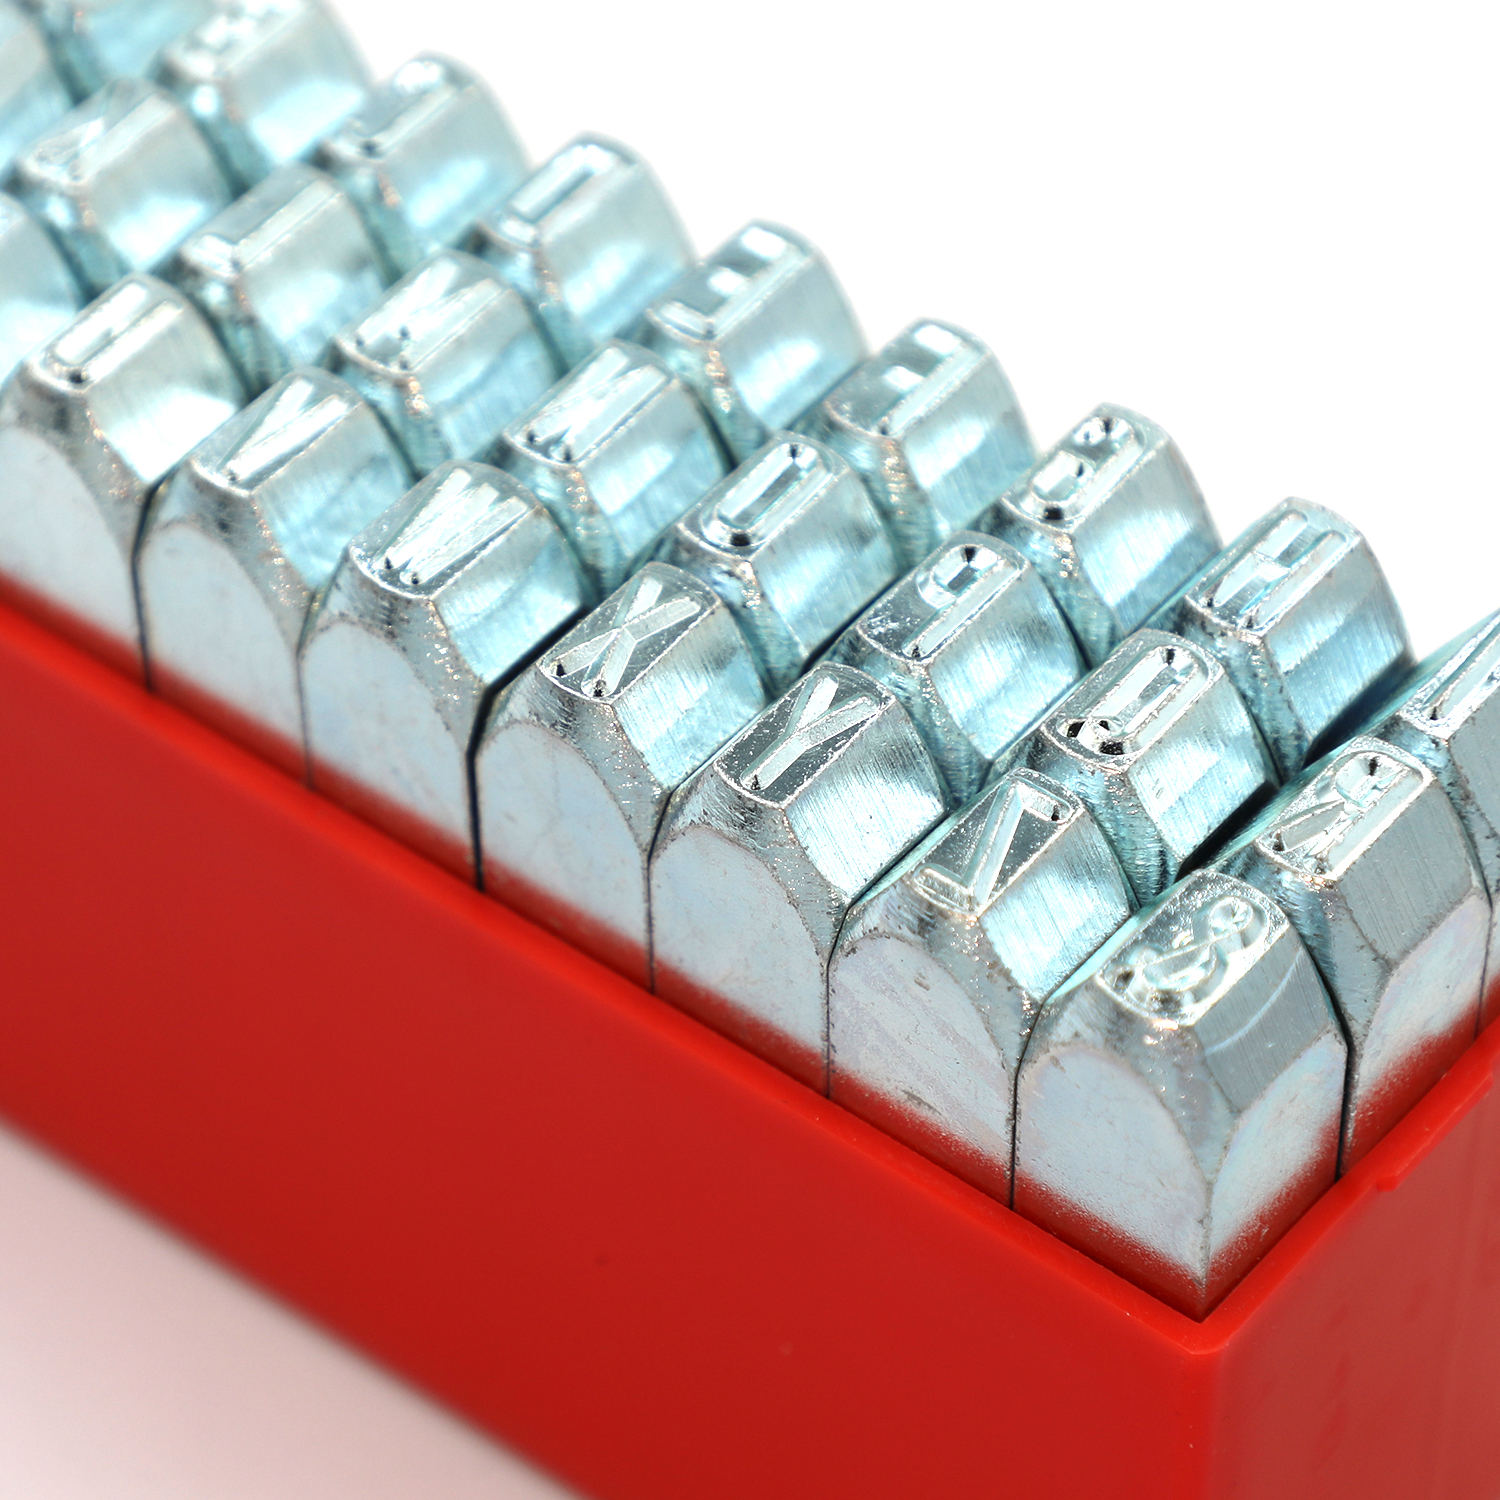
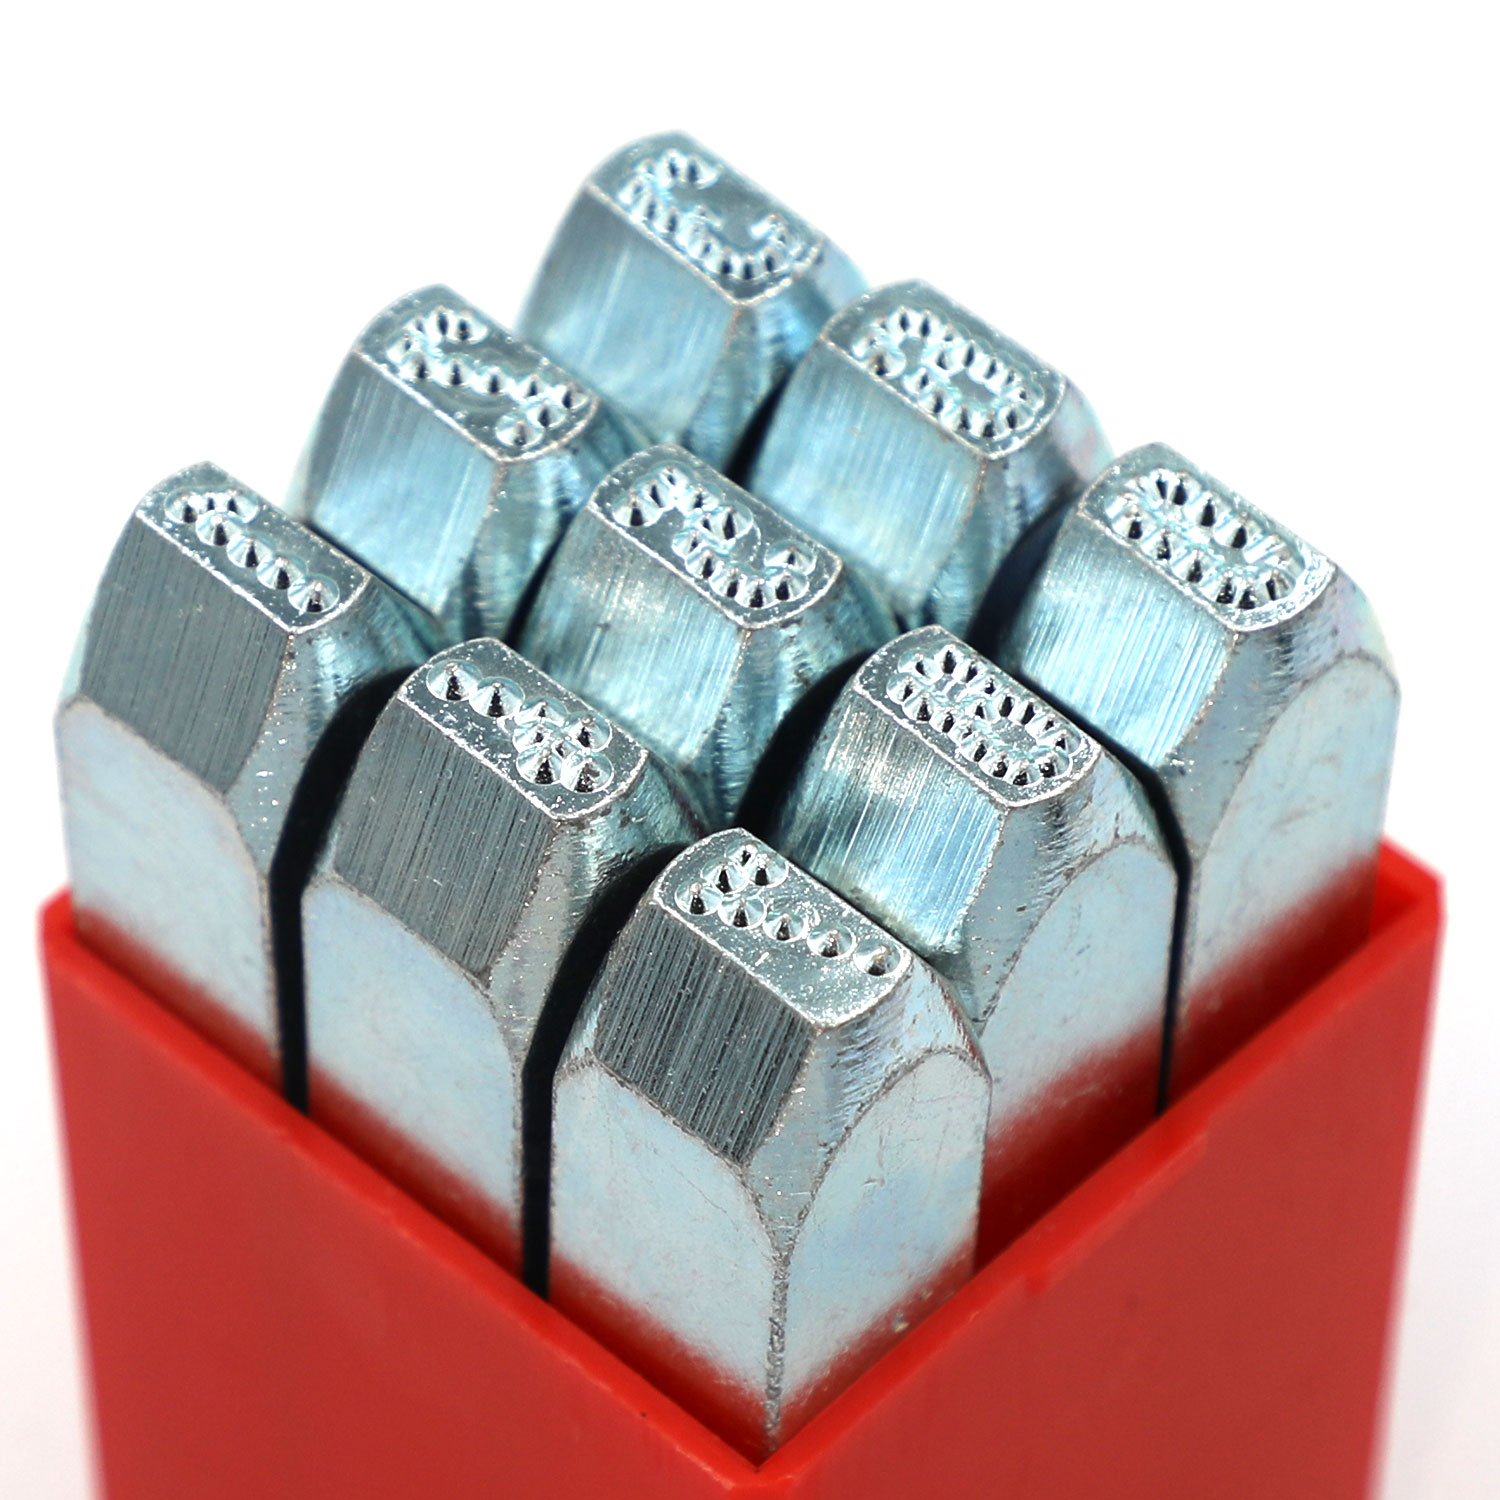
Metal Stamping Kits & Steel Hand Stamps
Pryor’s Hand Stamps & Stamping kits are made for handheld steel & metal stamping & made from hardened and tempered Steel for maximum safety, before being nickel plated to protect from corrosion. Dependent on use and the materials being marked, these traditional tools provide permanent high-readability inscriptions on leather, wood, plastics and all metals including Steel & Aluminium
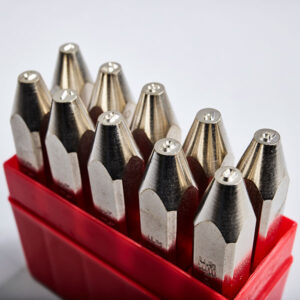
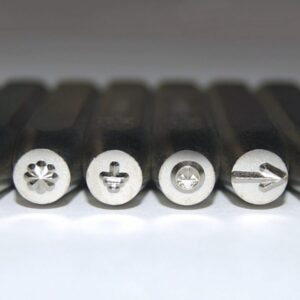
We offer Standard, Heavy Duty, Reverse, Low Stress, and special Symbols. Sets are available as just number punches, just letter punches or combination number and letter punch sets. Pryor also offer a range of types of Custom Metal Stamps, type and dies
-
 Select options This product has multiple variants. The options may be chosen on the product pageQuick ViewMetal Stamping Kits & Steel Hand Stamps
Steel Hand Stamps – Letters & Numbers Sets
Price range: £13.00 through £150.00Select options This product has multiple variants. The options may be chosen on the product pageQuick View -
 Select options This product has multiple variants. The options may be chosen on the product pageQuick ViewMetal Stamping Kits & Steel Hand Stamps
Low Stress Hand Stamps – Letters & Numbers
Price range: £22.80 through £105.00Select options This product has multiple variants. The options may be chosen on the product pageQuick View -
 Select options This product has multiple variants. The options may be chosen on the product pageQuick ViewMetal Stamping Kits & Steel Hand Stamps
Heavy Duty Hand Stamps – Letters & Numbers
Price range: £32.50 through £270.00Select options This product has multiple variants. The options may be chosen on the product pageQuick View -
Out of stock
 Select options This product has multiple variants. The options may be chosen on the product pageQuick ViewMetal Stamping Kits & Steel Hand Stamps
Steel Hand Stamps – Symbols
Price range: £12.00 through £54.40Select options This product has multiple variants. The options may be chosen on the product pageQuick View -
Out of stockSelect options This product has multiple variants. The options may be chosen on the product pageQuick ViewMetal Stamping Kits & Steel Hand Stamps
Reverse Steel Hand Stamps – Letters & Numbers
Price range: £19.50 through £57.00Select options This product has multiple variants. The options may be chosen on the product pageQuick View